11-码路博客《文章模块》
码路教育 7/25/2022
# 1. 创建文章
新建router/article.js,代码如下:
// router/article.js

const Router = require("@koa/router");
const ArticleController = require("../controller/ArticleController.js");
const jwtAuth = require("koa-jwt");
const config = require("../config/index.js");

const router = new Router();

// 创建⽂章
router.post("/article", jwtAuth({
    secret: config.security.secretKey
}), ArticleController.create);

module.exports = router;
1
2
3
4
5
6
7
8
9
10
11
12
13
14
15
2
3
4
5
6
7
8
9
10
11
12
13
14
15
在app.js中,注册对应的路由,如下:
// app.js

// ...

// 路由的引入
const user = require("./router/user.js")
const admin = require("./router/admin.js")
const category = require("./router/category.js")
const article = require("./router/article")

// ...

// 注册文章模块路由
app.use(article.routes())
article.allowedMethods();

// ...
1
2
3
4
5
6
7
8
9
10
11
12
13
14
15
16
17
2
3
4
5
6
7
8
9
10
11
12
13
14
15
16
17
创建对应的控制器,如下:
// controller/ArticleController.js

const ArticleModel = require("../models/ArticleModel");
const {
    articleValidator
} = require("../validators/article");
const res = require("../core/helper");
class ArticleController {
    // 创建文章
    static async create(ctx, next) {
        // 验证参数
        articleValidator(ctx);
        const {
            title
        } = ctx.request.body;
        const hasArticle = await ArticleModel.findOne({
            title
        });
        if (hasArticle) {
            throw new global.errs.Existing("文章已存在");
        }
        await ArticleModel.create(ctx.request.body);
        ctx.body = res.success("创建成功");
    }
}
module.exports = ArticleController;
1
2
3
4
5
6
7
8
9
10
11
12
13
14
15
16
17
18
19
20
21
22
23
24
25
26
2
3
4
5
6
7
8
9
10
11
12
13
14
15
16
17
18
19
20
21
22
23
24
25
26
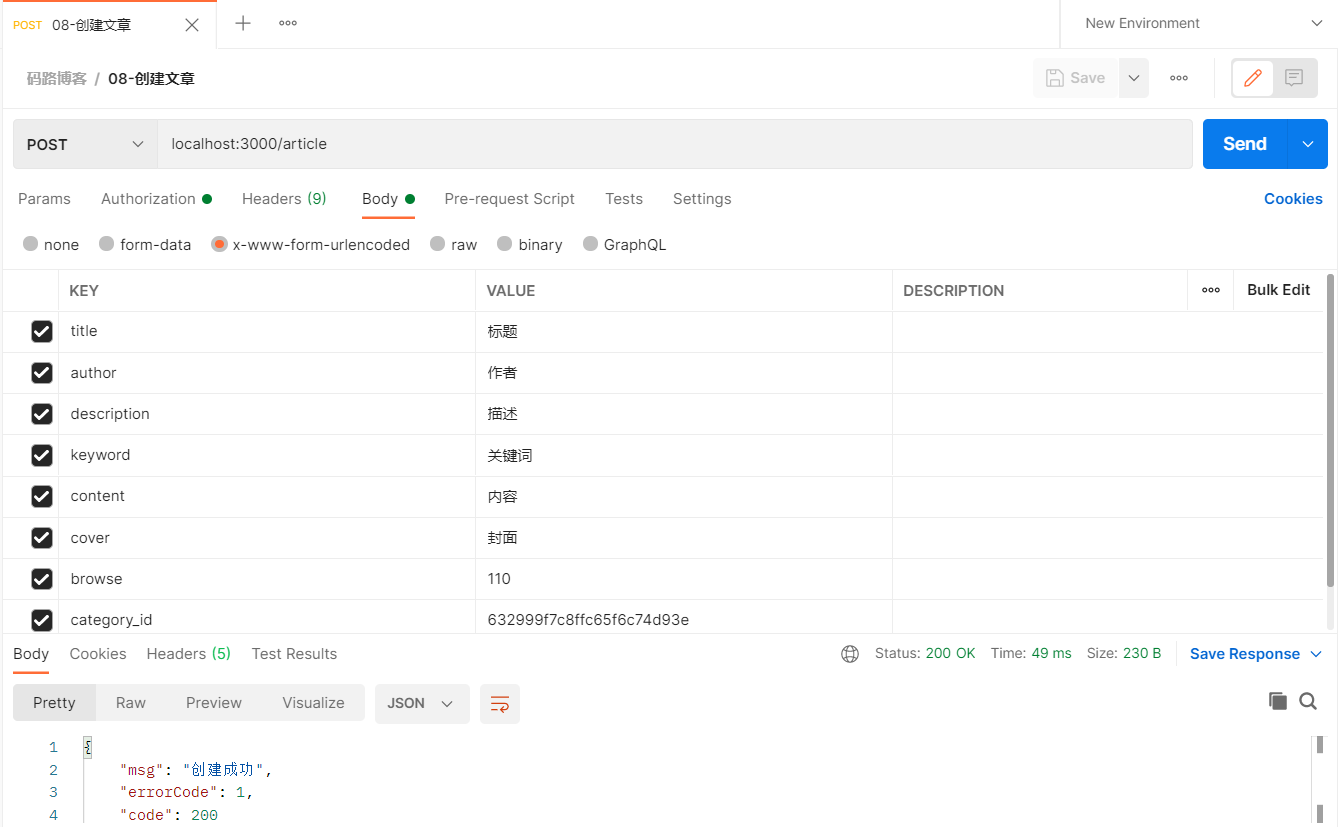
在postman中测试如下:
# 2. 获取⽂章列表
在router/category.js,配置对应路由:
// router/article.js

// 获取文章
router.get("/article", ArticleController.getArticleList);
1
2
3
4
2
3
4
在对应的控制器中,实现getArticleList方法,如下:
// controller/ArticleController.js

// 获取文章列表
//   1)获取所有文章
//   2)根据某个分类,获取某个分类下的所有的文章
//   3)根据关键字,获取含有此关键字的文章
static async getArticleList(ctx, next) {
    const {
        category_id = null,
            pageIndex = 1,
            pageSize = 10,
            keyword
    } = ctx.query

    let filter = {};
    if (category_id) {
        filter = {
            category_id,
        };
    }

    // 得到数据库中总的文章数
    const totalSize = await ArticleModel.find().countDocuments();

    const articleList = await ArticleModel
        .find(filter)
        .skip(parseInt(pageIndex - 1) * parseInt(pageSize))
        .limit(+pageSize)
        .or([
            //   模糊搜索查询    正则  RegExp是正则类   node   new EegExp("node", "i")
            {
                // 匹配匹配
                keyword: {
                    $regex: new RegExp(keyword, "i"),
                },
            },
        ])
        .sort({
            _id: -1
        })
        .populate("category_id"); // //连表查询

    ctx.body = res.json({
        content: articleList,
        pageIndex: parseInt(pageIndex),
        pageSize: parseInt(pageSize),
        totalSize,
    });
}
1
2
3
4
5
6
7
8
9
10
11
12
13
14
15
16
17
18
19
20
21
22
23
24
25
26
27
28
29
30
31
32
33
34
35
36
37
38
39
40
41
42
43
44
45
46
47
48
49
2
3
4
5
6
7
8
9
10
11
12
13
14
15
16
17
18
19
20
21
22
23
24
25
26
27
28
29
30
31
32
33
34
35
36
37
38
39
40
41
42
43
44
45
46
47
48
49
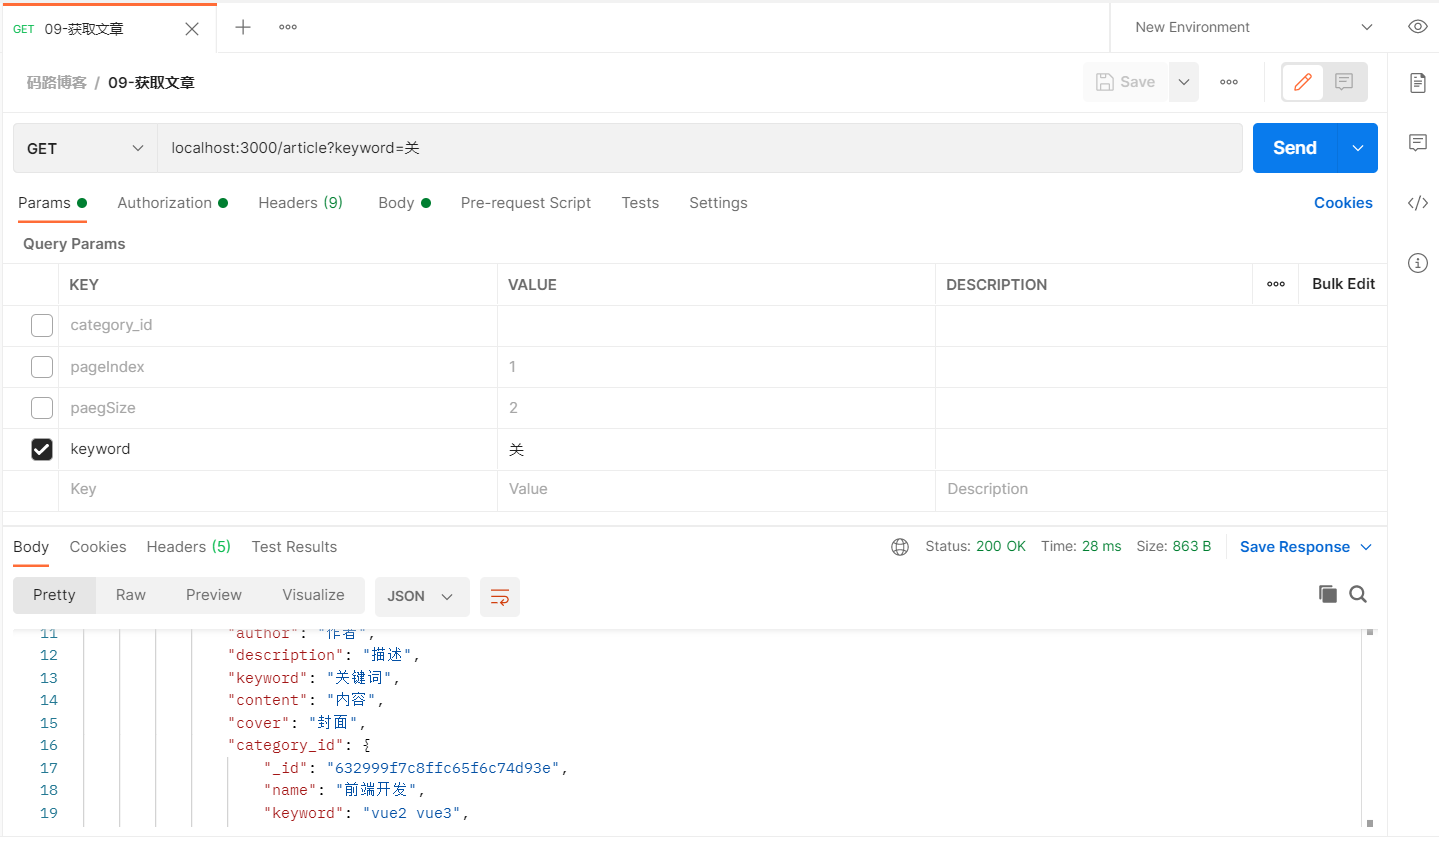
在postman中测试如下:
# 3. 更新文章
在router/article.js,配置对应路由:
// router/article.js

// 更新文章
router.put("/article/:_id", ArticleController.updateArticeleById);
1
2
3
4
2
3
4
在对应的控制器中,实现updateArticeleById方法,如下:
// controller/ArticleController.js

/// 更新文章
static async updateArticeleById(ctx, next) {
    const _id = ctx.params._id;
    const article = await ArticleModel.findOneAndUpdate({
            _id
        },
        ctx.request.body
    );
    if (!article) throw new global.errs.NotFound("没有找到相关文章");
    ctx.body = res.success("更新成功");
}
1
2
3
4
5
6
7
8
9
10
11
12
13
2
3
4
5
6
7
8
9
10
11
12
13
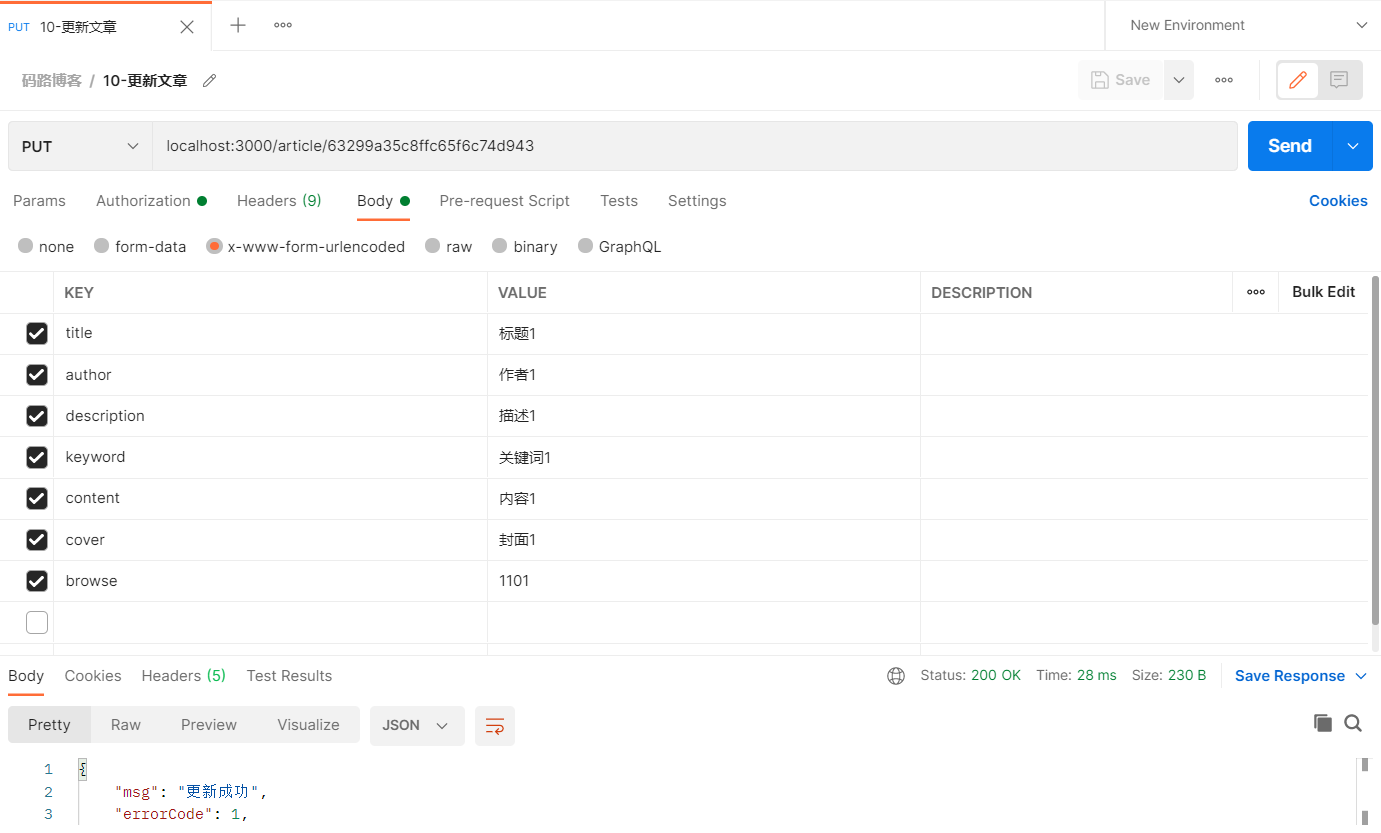
在postman中测试如下:
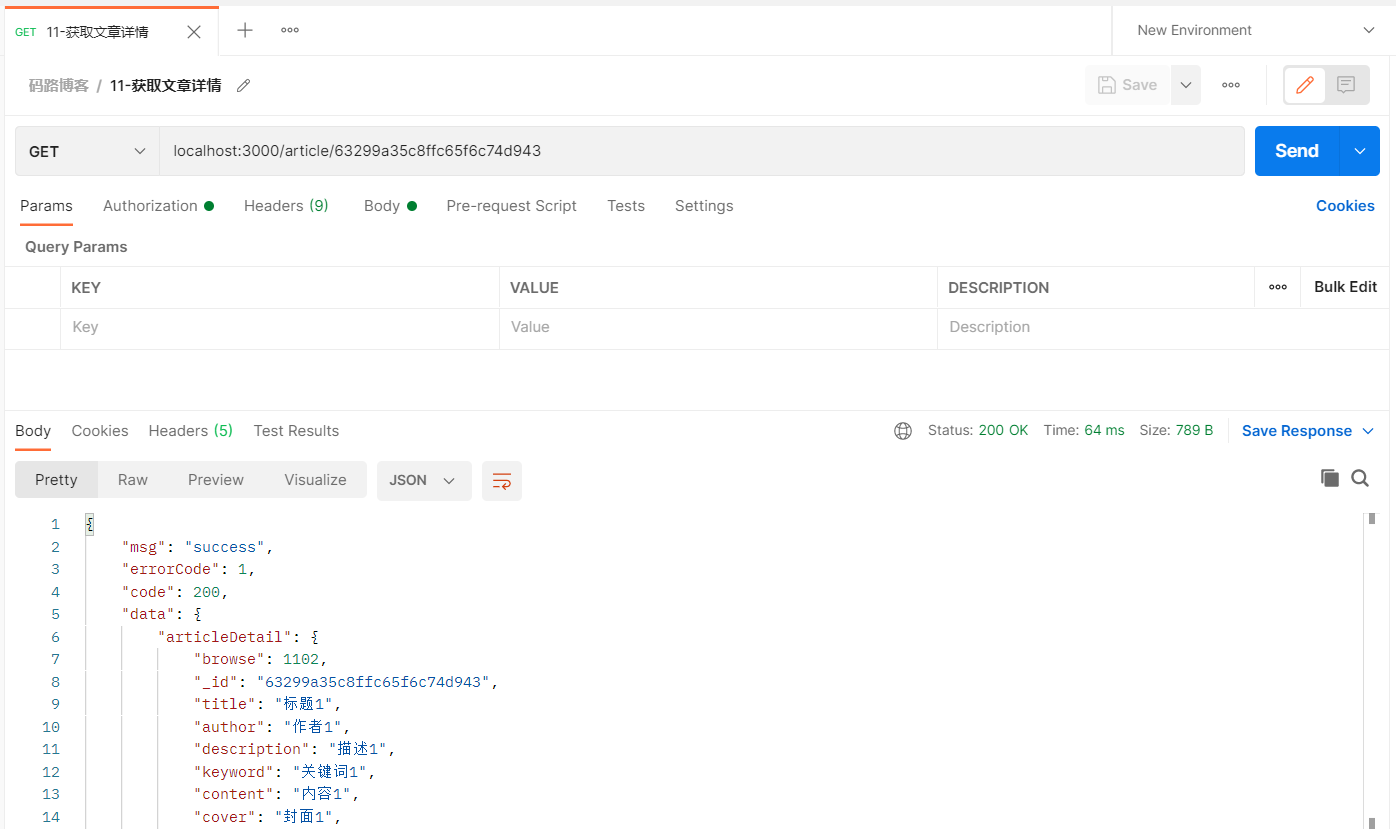
# 4. 获取文章详情
在router/article.js,配置对应路由:
// router/article.js

// 获取文章详情
router.get("/article/:_id", ArticleController.getArticleDetailById);
1
2
3
4
2
3
4
在对应的控制器中,实现getArticleDetailById方法,如下:
// controller/ArticleController.js

// 获取文章详情
static async getArticleDetailById(ctx, next) {
    const _id = ctx.params._id;
    //   文章详情的内容
    const articleDetail = await ArticleModel.findById({
        _id
    }).populate(
        "category_id"
    );
    if (!articleDetail) throw new global.errs.NotFound("没有找到相关文章");
    // 更新文章浏览器数 browse
    await ArticleModel.findByIdAndUpdate({
        _id
    }, {
        browse: ++articleDetail.browse
    });

    /*
      注意:⽂章详情下有相关的评论数据,未来做这件事情
      todo:
        获取该⽂章下的评论列表
        const commentList = [];
    */
    ctx.body = res.json({
        articleDetail,
        commentList: [],
    });
}
1
2
3
4
5
6
7
8
9
10
11
12
13
14
15
16
17
18
19
20
21
22
23
24
25
26
27
28
29
30
2
3
4
5
6
7
8
9
10
11
12
13
14
15
16
17
18
19
20
21
22
23
24
25
26
27
28
29
30
在postman中测试如下:
# 5. 删除文章
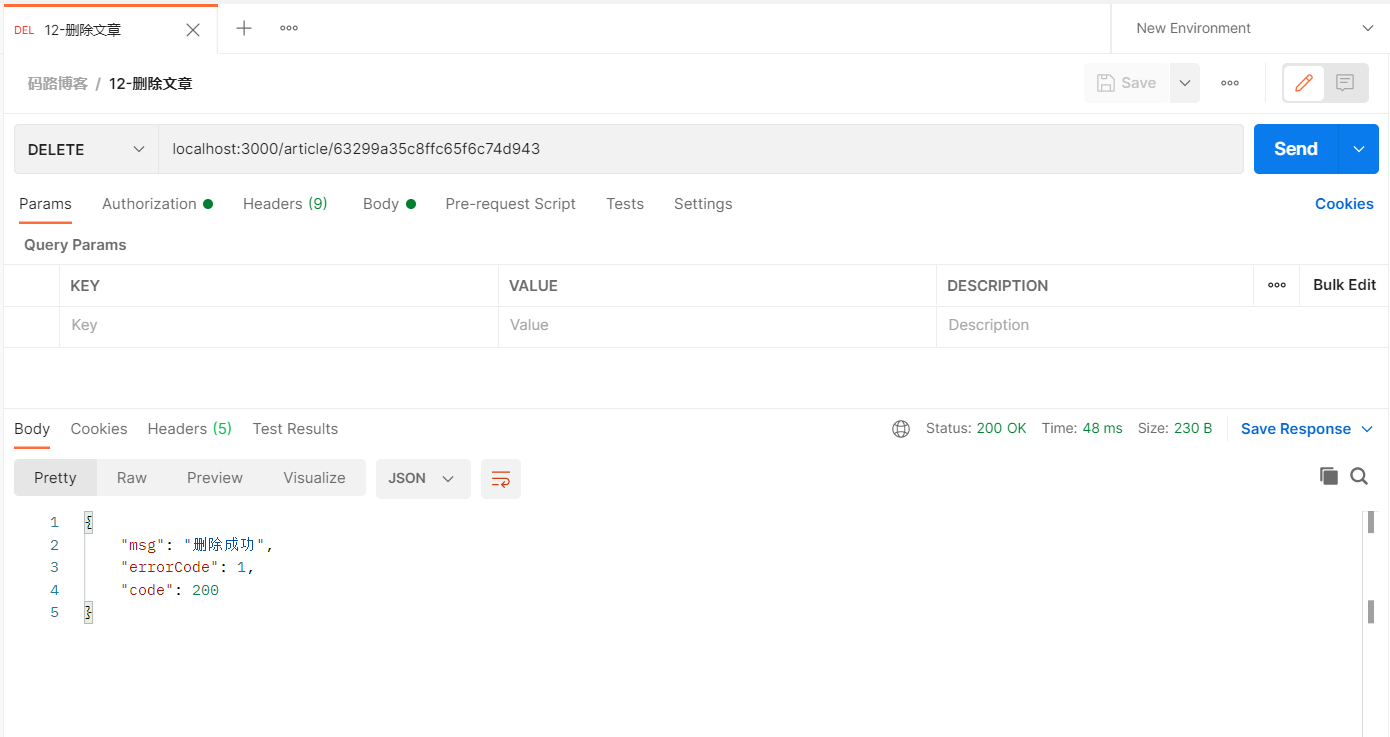
在router/article.js,配置对应路由:
// router/article.js

// 删除文章
router.delete("/article/:_id", ArticleController.deleteArticelById);
1
2
3
4
2
3
4
在对应的控制器中,实现deleteArticelById方法,如下:
// controller/ArticleController.js

// 删除文章
static async deleteArticelById(ctx, next) {
    const _id = ctx.params._id;
    const article = await ArticleModel.findOneAndDelete({
        _id
    });
    if (!article) throw new global.errs.NotFound("没有找到相关文章");
    ctx.body = res.success("删除成功");
}
1
2
3
4
5
6
7
8
9
10
11
2
3
4
5
6
7
8
9
10
11
在postman中测试如下:
# 6. 文章封面上传
在router/article.js,配置对应路由:
// router/article.js

const upload = require("../middlewares/upload");

// 图片上传
router.post("/upload", upload.single("avatar"), ArticleController.uploadCoverImg);
1
2
3
4
5
6
2
3
4
5
6
在配置文件中添加host,如下:
module.exports = {
    host: "http://127.0.0.1",
    // 服务器的端口,写在配置文件中,后面好修改
    port: 3000,
    // mongodb数据库相关配置
    db: {
        // 数据库的端口  mongodb默认就是27017
        port: 27017,
        // 数据库的地址,本地地址是127.0.0.1
        host: "127.0.0.1",
        // 数据库名称,没有会自动创建
        dbName: "mlBlog",
    },
    // 签证配置
    security: {
        // 密钥
        secretKey: "secretKey",
        // 过期时间
        expiresIn: Math.floor(Date.now() / 1000) + 60 * 60 * 24 * 7,
    },
};
1
2
3
4
5
6
7
8
9
10
11
12
13
14
15
16
17
18
19
20
21
2
3
4
5
6
7
8
9
10
11
12
13
14
15
16
17
18
19
20
21
在对应的控制器中,实现uploadCoverImg方法,如下:
// controller/ArticleController.js

const config = require("../config/index.js")

// 上传文章封面
static async uploadCoverImg(ctx, next) {
    let imgPath = config.host + ":" + config.port + "/" + "images/" + ctx.req.file.filename;
    ctx.body = res.json(imgPath)
}
1
2
3
4
5
6
7
8
9
2
3
4
5
6
7
8
9
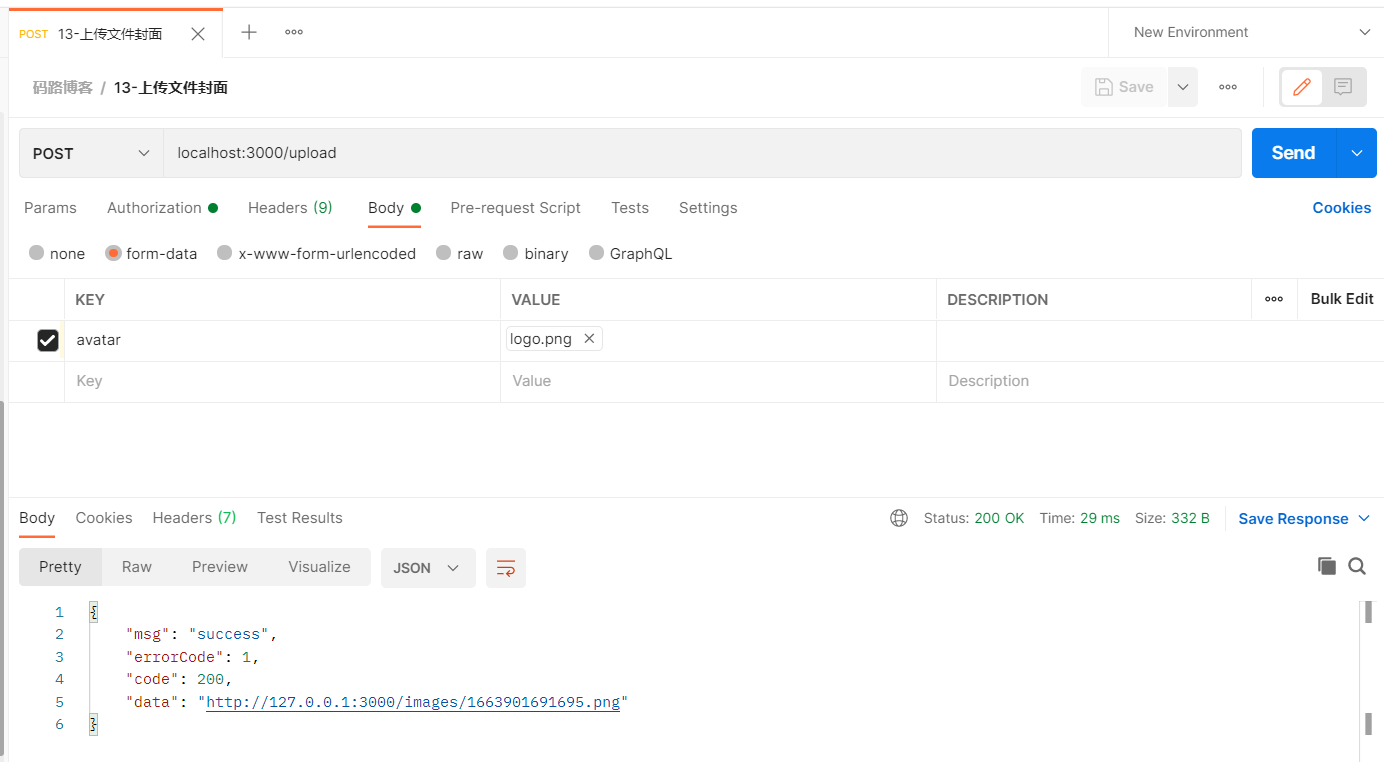
在postman中测试如下:
